Easy Dutch Oven Sourdough Bread Recipe For Beginners
The best way to make a sourdough bread recipe is in a Dutch oven. This sourdough recipe has a crispy crust on the outside and is soft and tangy on the inside. Not to mention the recipe is easy enough for beginners to make.
Why I Love Using a Dutch Oven for Baking Sourdough Bread
A cast iron Dutch oven is perfect for baking artisan sourdough bread loaves. Cast iron Dutch ovens retain heat and maintain stable baking temperatures. Even better they hold in steam with the lid on. Steam prevents the crust from hardening and allows for a better spring to the bread.
My Sourdough Bread Baking Experience
The first time I thought about making homemade sourdough bread I read a book. There were all kinds of complicated tips on how to make the perfect dough. The book made making homemade bread sound like a terrifying ordeal. The writer said that if one thing were off your entire sourdough bread would be doomed to failure. After the writer stated that it was important to figure out the combination temperature of your house and water, I quit the dream. I decided that even attempting to make sourdough bread was just too complicated for me.
Fast forward several years and vlogs and blogs like Farmhouse On Boone and ThePantryMama showed me that making sourdough bread was not that difficult. While sourdough baking is a science, it is a natural science. Nature is simple and orderly. If you understand a few simple concepts you can easily put together a tasty loaf of sourdough bread in no time.
Before you get started check out my other posts about a simple method to make a sourdough starter and the reason why you need to discard your starter.
4 Key Concepts To Consider When Making the Perfect Sourdough Bread
Once you figure out how to make a nice and bubbly sourdough starter, the obvious next steps are making and baking the dough. Here are a few things you need to consider during this process.
- Hydration
- Structure Formation
- Temperature
- Timing
Hydration
Hydration of your dough is one of the most important concepts when making a sourdough loaf. If too little water is added to the dough the bread will be dry and hard. Too much water and the bread might as well be pancakes. Don’t fret this is a concept that you can tinker with as you become more confident in your bread-making skills. For the beginner baker just use a tried and true recipe and don’t worry about getting the hydration just right. My Dutch oven sourdough bread recipe is the perfect way for a newbie sourdough bread baker to start.
Structure Formation
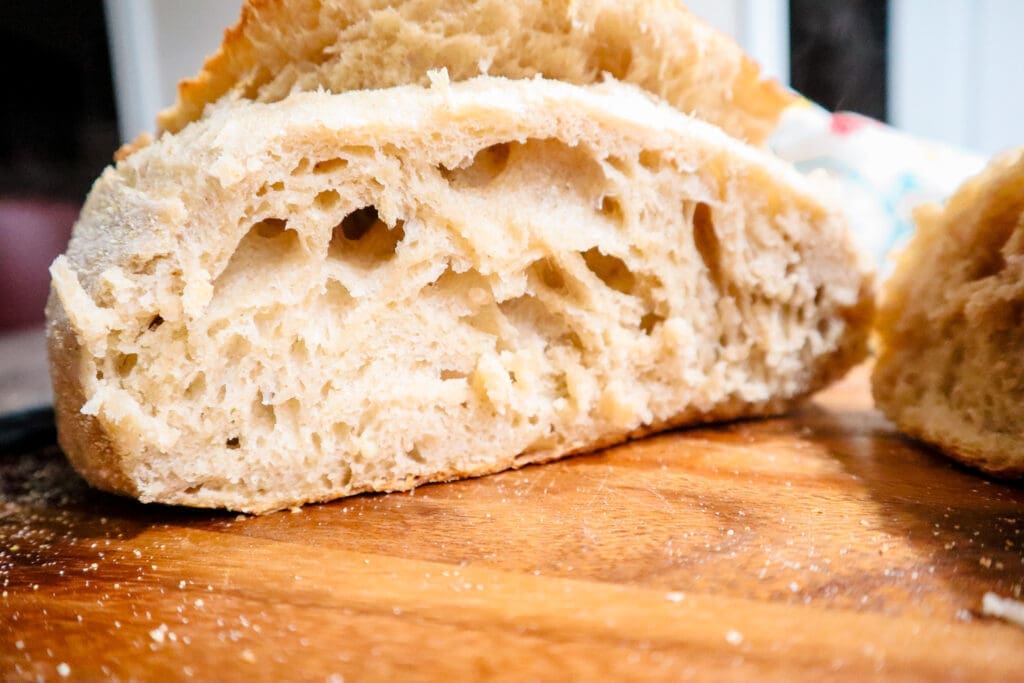
Bulk Fermentation Creates Volume And Structure
The structure of your bread happens during the bulk ferment phase or the first rise. During the bulk ferment, your bread will rise for 4-12 hours. The gases that get expelled from the wild yeast and bacteria will tug at the gluten strands and create structure. Do not go over the 12 hours of fermentation as the gluten strands will begin to break down and you will end up with a sloppy mess.
You will hear of another fermentation phase Known as the cold ferment or the second rise. Only one ferment truly helps the dough to rise, the bulk ferment. During the bulk ferment, the natural yeast and bacteria will get to work and help the dough to double in size. In contrast, a cold ferment makes the natural wild yeast slow down and go to sleep. The dough does not rise during the cold ferment. Regardless of this fact, the cold ferment is still important because it allows the tangy sourdough flavor to mature and helps the bread dough to become firm.
Stretching And Folding The Dough Creates Structure
Additionally, you will want to manually manipulate the dough to help create structure. You can do this by a few series of stretches and folds. The stretches enable the gluten strands to relax and straighten out. Ultimately helping the dough to create tension and shape.
Temperature
Temperature is not as complicated as the professionals make it. Warm weather will cause your dough to rise and ferment quickly. Cold weather will slow it down. Warm water will activate your sourdough starter but hot water will kill it. It’s a balance but you don’t need a thermometer to tell you if the water is scorching hot. If it feels warm but not burning it is fine to use. If the room is muggy and warm expect your sourdough to bulk ferment quicker. It is not rocket science it is just using the physical senses that the good Lord gave you.
Temperature is also important when the sourdough loaf is baking. We want a really hot oven and a Dutch oven.
Timing
Timing is probably one of the biggest factors in having a successful sourdough bread. There is a lot of waiting involved. You need to make sure that your sourdough starter is at its peak before you add it to the dough mixture. This can be around 4-12 hours after the starter is fed. Then it is another 4-12 hours before your bulk ferment is complete. Then several more hours in the refrigerator for the cold ferment phase before you can finally place your sourdough in the oven for 45 minutes to bake. Be sure to keep a timer handy while you make sourdough bread.
Supplies and Ingredients for Easy Dutch Oven Sourdough Bread Recipe
This post contains affiliate links, which means I make a small commission at no extra cost to you. See my full disclosure here.
Supplies:
Dutch Oven- I use a similar enamel to this one by Lodge
Banneton Basket – check out this great sourdough baking starter kit on Amazon![]()
Kitchen Scale![]()
Danish Dough Whisk
Bread Lame or razor blade
Parchment Paper- I prefer parchment paper but in a pinch, tin foil does work.
Large mixing bowl
Baking sheet or baking stone
Plastic wrap
Ingredients:
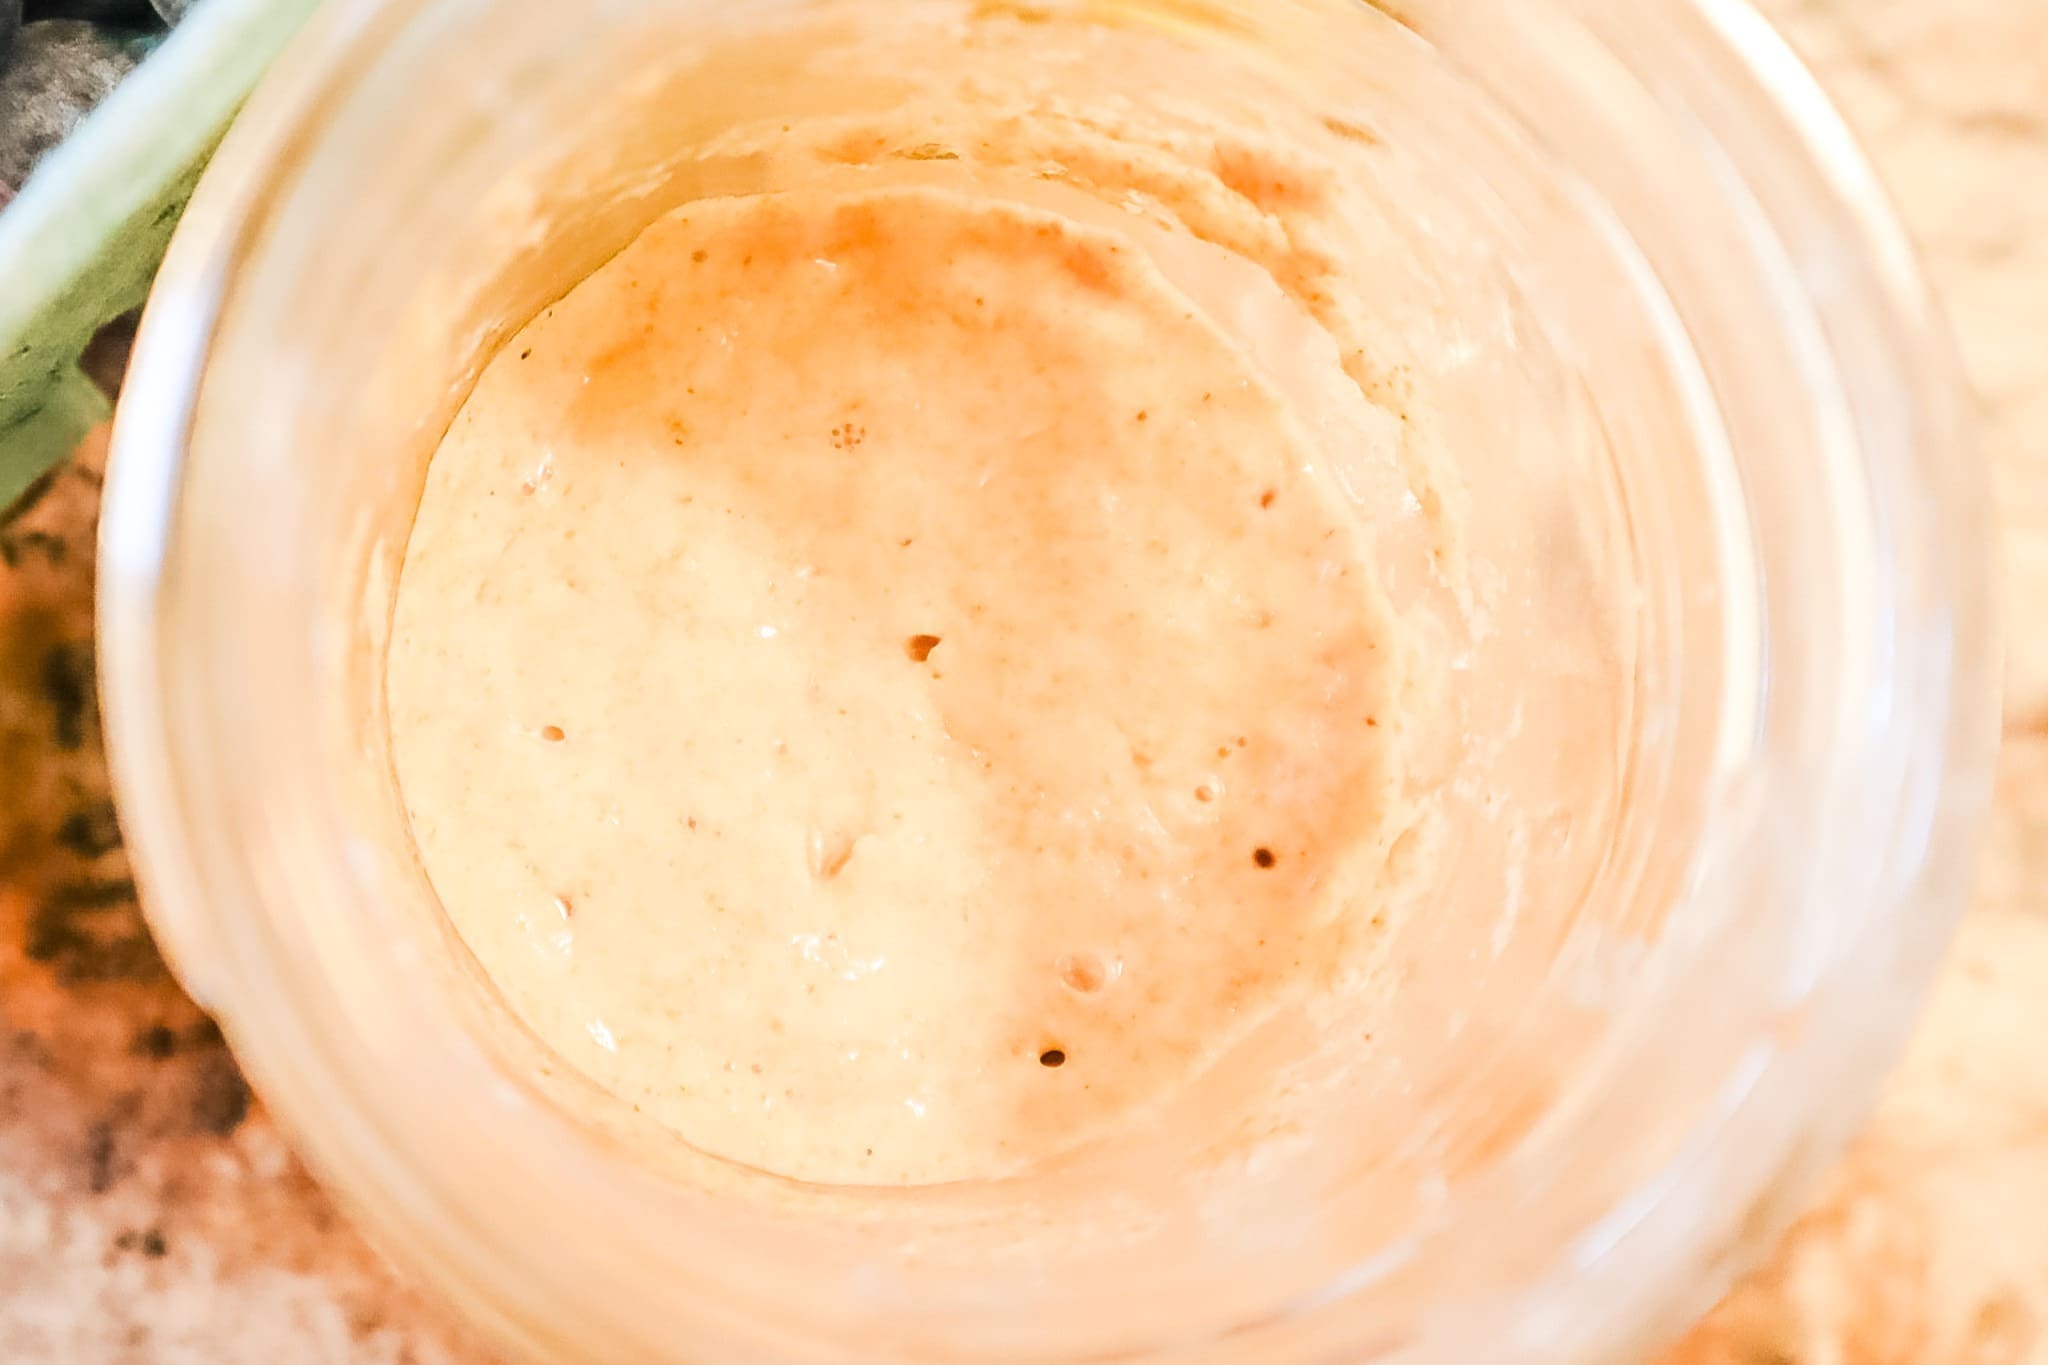
- Fed and Bubbly sourdough starter
- Unbleached Bread Flour
- Salt
- Warm Water- Use distilled if your water is chlorinated or has other issues
- Rice flour for flouring the banneton basket
Step By Step Instructions: Easy Dutch Oven Sourdough Bread Recipe
Step 1: Measure Everything Out for the Dutch Oven Sourdough Bread Recipe
Make sure your sourdough has been fed and is bubbly before you proceed to this first step.
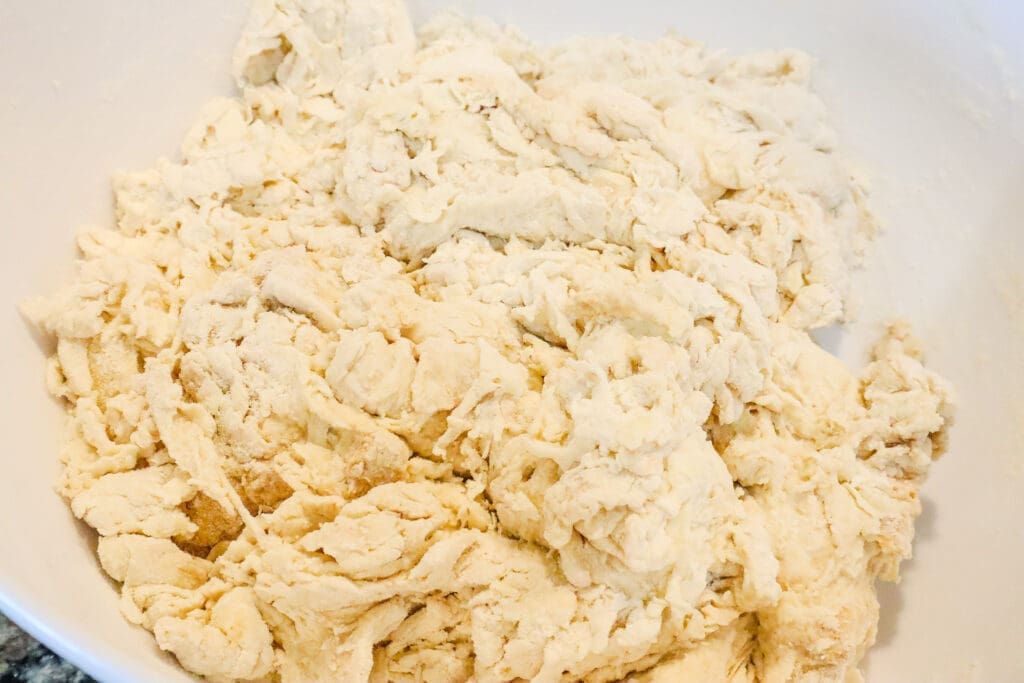
Grab a large bowl and kitchen scale. Measure out Sourdough Starter, salt, and water. Mix to help the salt disperse evenly. Add the liquid mixture to your flour. Use your Danish dough whisk to blend this into a shaggy dough. Cover the bowl with plastic wrap to keep the moisture in.
Step 2: Autolyse the sourdough bread dough
Autolyse is a fancy word for letting the flour soak up the water. During this step, you will simply wait and let the dough rest for 30 minutes while the shaggy sourdough transforms into a beautiful dough ball.
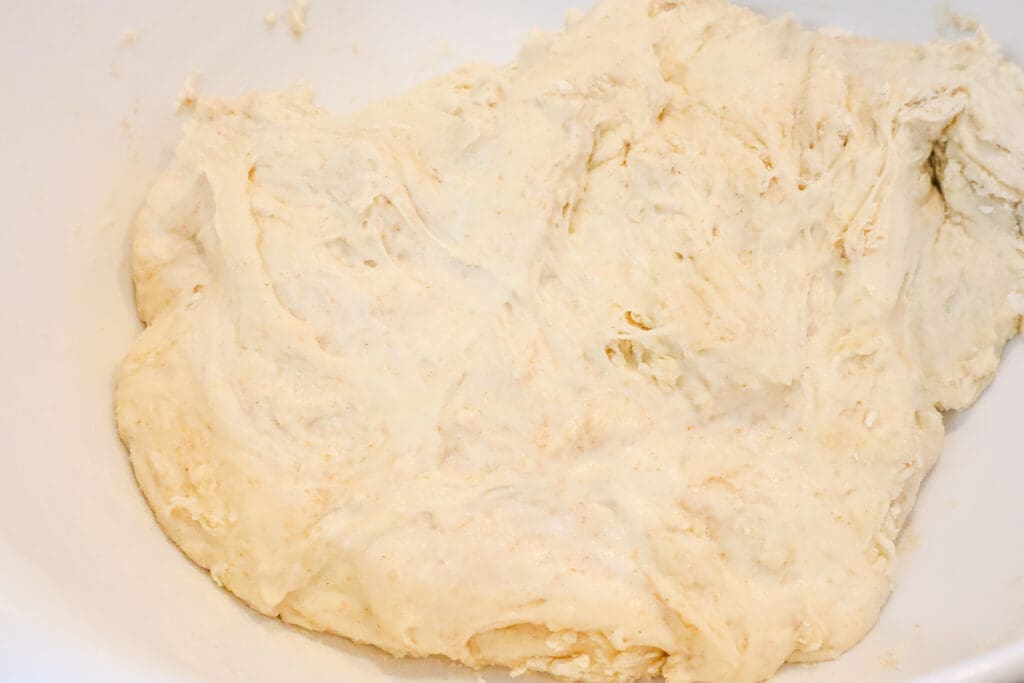
Step 3: Strech and fold the sourdough bread dough
When the 30 minutes or more is up. Tug on one side of the dough ball and stretch it out. Then fold the stretched dough back over the dough ball. Quarter turn the dough ball and stretch and fold again. You will repeat the stretch and fold on all four sides.
You may repeat this move several more times during the bulk ferment phase. I recommend repeating the stretch and fold at least 3-4 times. You may use a timer to remind your self or you can just repeat the stretch and fold ad-lib. Some will say to do this every 15 minutes and then every 30 minutes. Honestly, timing out the stretch and fold sequence has not made a difference in my loaves of bread. Nowadays, I just make sure that I do at least 4 stretches throughout the bulk ferment and the timing is completely random.
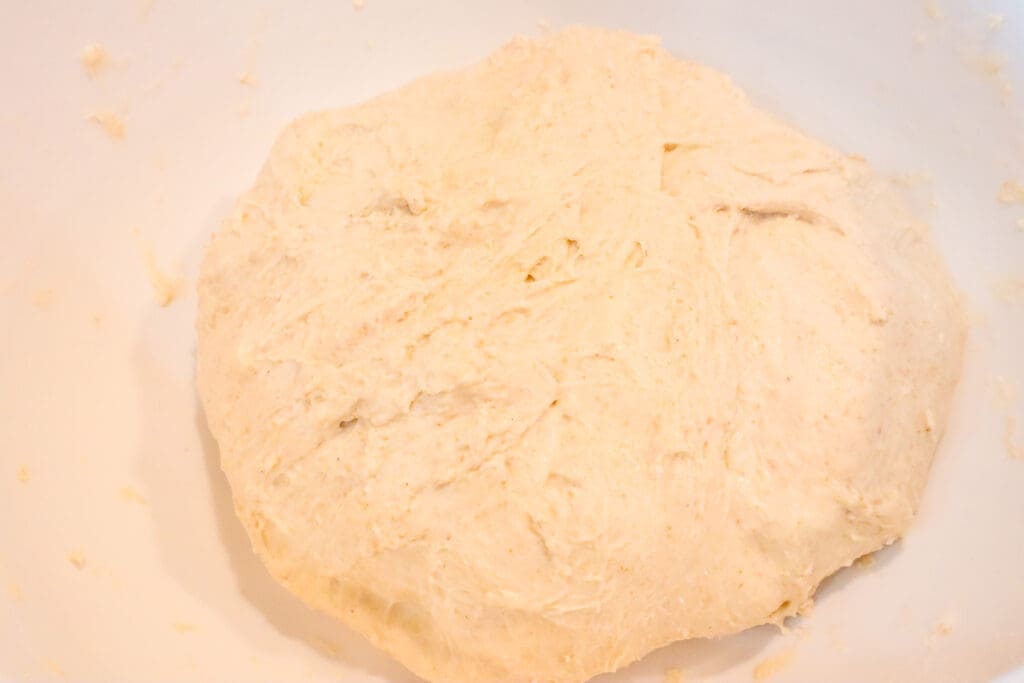
Step 4: Wait until the sourdough has doubled
You will wait around 4- 12 hours for your dough to double in size. If you have a more active starter this may even be around 2-3 hours. After you feed your starter pay attention to how long it takes to double in size. This will give you a good clue about how long your sourdough loaf will double in size. If your starter takes 6 hours to peak after feeding then it will take at least that amount of time for your sourdough loaf to double.
Step 5: Cold Ferment The Sourdough Bread Dough
Truthfully, you can skip this phase and go straight to baking but I don’t recommend it. The cold ferment helps the sourdough to develop its flavor profile. This is how you get that super tangy-tasting sourdough. Additionally, the cold ferment helps the dough to firm up before baking.
Place the dough seam side up into a floured banneton basket. Most people recommend sprinkling rice flour into your banneton basket before adding the dough. You can do that or use a heavy coating of bread flour. From there, I recommend that you wait at least 3 hours before removing the dough from the refrigerator. The longer the cold ferment time the better. You can leave the dough in the refrigerator for up to 3 days before baking.
Step 6: let’s start baking!.. But first, we must preheat the oven
Place your cast iron Dutch oven into your kitchen oven and preheat the oven to 450 degrees Fahrenheit. Once the oven is preheated continue to let the oven heat up for a minimum of 45 minutes.
Step 7: Get the dough in the dutch oven
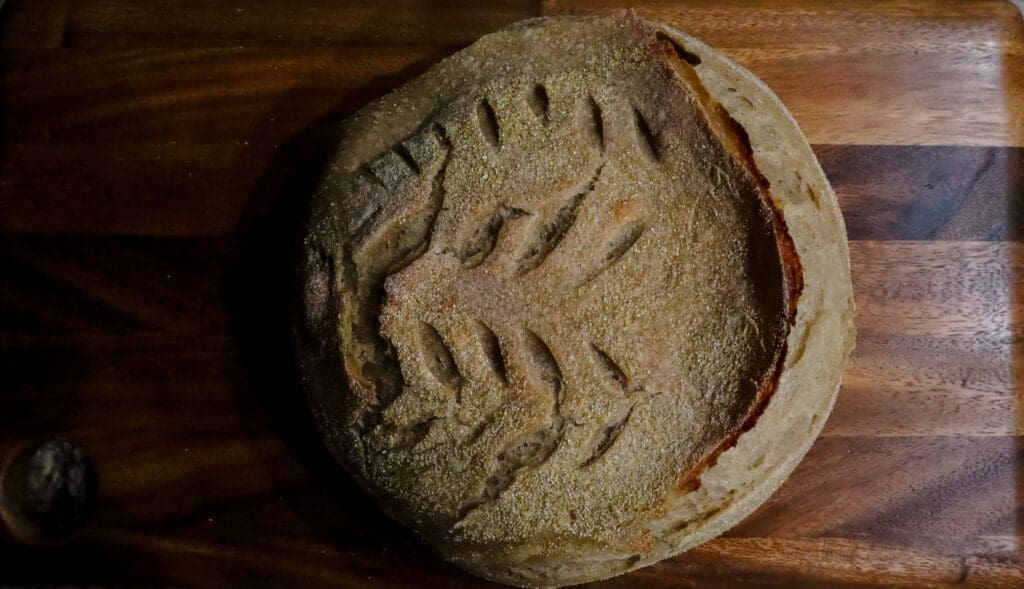
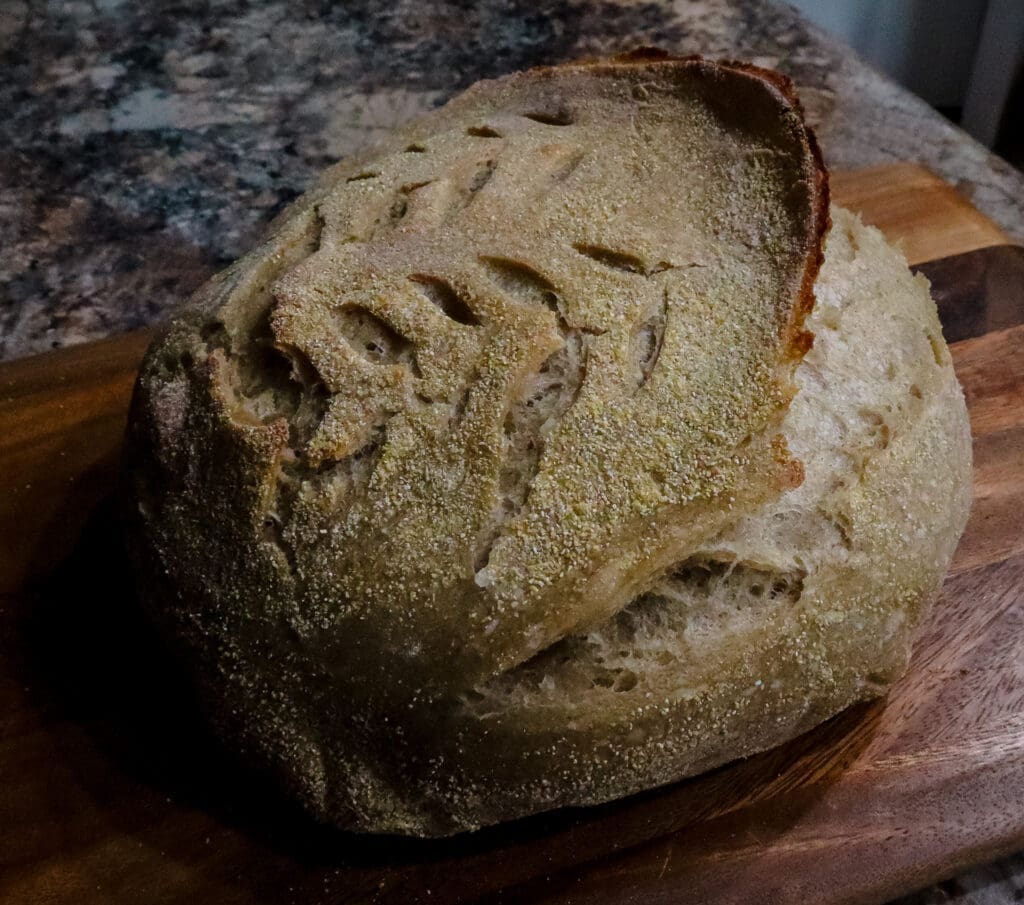
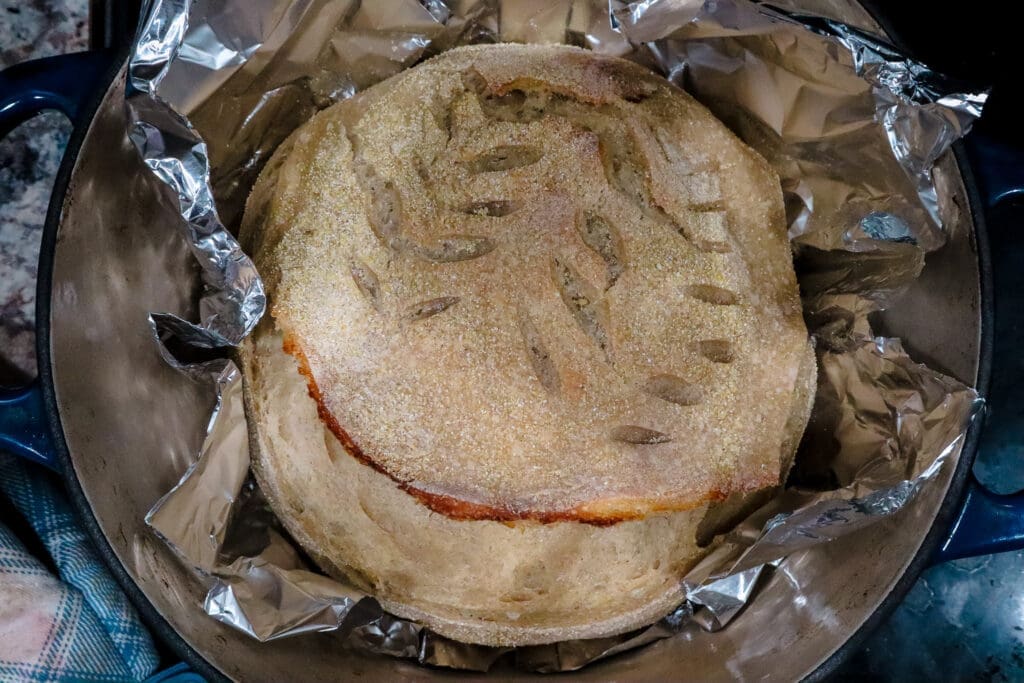
Wait until you are ready to put the bread dough in the oven before taking it out of the refrigerator. Place the dough seam side down on a floured piece of parchment paper. Then take your razor blade or bread lame and make at least 1 large slit on the top of the loaf. At this point, you may get creative and make a design on the bread. Whatever fits your fancy.
At this time you may grab up 2 sides of the parchment paper and use it as a sling to place your dough into the preheated Dutch oven. Bake the dough with the lid on the hot Dutch oven for 30 minutes. You may want to place a baking sheet on the rack below the Dutch oven to prevent burning on the bottom of the bread. When the 30 minutes are up remove the lid. Bake for another 5-15 minutes to let the crust harden and golden brown.
Step 8: Let the bread cool and eat
Now you can remove the bread and let it cool for several hours. They say that the bread tastes best when you let it cool down before cutting into it. I could not tell you if that is true or not. I do not know. In my house, the moment that the bread pops out of the oven it is gone. My family and I start cutting into the bread with a sharp knife and slathering it with butter immediately. We are just lucky if it lasts until the morning.
Have you ever made a sourdough bread Dutch oven recipe? Let me know in the comments below
Check out these other posts on sourdough from On Yankee Farm
The Best Sourdough English Muffins
Sourdough Benefits: Unravel the Truths and Myths

Easy Dutch Oven Sourdough Bread Recipe
The best way to make a sourdough bread recipe is in a Dutch oven. This sourdough recipe has a crispy crust on the outside and is soft and tangy on the inside. Not to mention the recipe is easy enough for beginners to make.
Ingredients
- 100 Grams of Fed and Bubbly sourdough starter
- 600 Grams Unbleached Bread Flour
- 12 Grams of Salt
- 420 Grams of Warm Water- Use distilled if your water is chlorinated or has other issues
- Rice flour for flouring the banneton basket
Instructions
Make sure your sourdough has been fed and is bubbly before you proceed to this first step.
Grab a large bowl and kitchen scale. Measure out Sourdough Starter, salt, and water. Mix to help the salt disperse evenly. Add the liquid mixture to your flour. Use your Danish dough whisk to blend this into a shaggy dough. Cover the bowl with plastic wrap to keep the moisture in.- During this step, you will simply wait and let the dough rest for 30 minutes while the shaggy sourdough transforms into a beautiful dough ball.
- When the 30 minutes or more is up. Tug on one side of the dough ball and stretch it out. Then fold the stretched dough back over the dough ball. Quarter turn the dough ball and stretch and fold again. You will repeat the stretch and fold on all four sides.
You may repeat this move several more times during the bulk ferment phase. I recommend repeating the stretch and fold at least 3-4 times. - You will wait around 4- 12 hours for your dough to double in size.
- Place the dough seam side up into a floured banneton basket and cover the basket with a tea towel or plastic wrap. Place the basket in the refrigerator for a minimum of 3 hours and up to 3 days.
- Place your cast iron Dutch oven into your kitchen oven and preheat the oven to 450 degrees Fahrenheit. Once the oven is preheated continue to let the oven heat up for a minimum of 45 minutes.
- Wait until you are ready to put the bread dough in the oven before taking it out of the refrigerator. Place the dough seam side down on a floured piece of parchment paper. Then take your razor blade or bread lame and make a design or at least 1 large slit on the top of the loaf.
- Grab up 2 sides of the parchment paper and use it as a sling to place your dough into the preheated Dutch oven. Bake the dough with the lid on the hot Dutch oven for 30 minutes. You may want to place a baking sheet on the rack below the Dutch oven to prevent burning on the bottom of the bread.
- When the 30 minutes are up remove the lid. Bake for another 5-15 minutes to let the crust harden and golden brown.
- Now you can remove the bread and let it cool for several hours before you slice into it.
Notes
* The longer that you keep the sourdough in the refrigerator the more sour it will taste.
Nutrition Information:
Yield:
10Serving Size:
1Amount Per Serving: Calories: 292Total Fat: 1gSaturated Fat: 0gTrans Fat: 0gUnsaturated Fat: 1gCholesterol: 0mgSodium: 469mgCarbohydrates: 60gFiber: 2gSugar: 0gProtein: 9g